
Sew a simply lined jacket or reversible jacket without sleeve cuffs
Inhaltsverzeichnis
With this tutorial, I explain how you can sew Jovem, Capa, and Dona Capa as reversible jackets or lined jackets as well.
I have provided particularly detailed instructions for the reversible sleeves without cuffs, as I found it quite complicated during my early sewing days and couldn’t find a clear description anywhere.
Required Materials
- Pattern for a jacket, e.g., Dona Capa, Capa, or Jovem from erbsünde
- Recommended fabric in double quantity, once for the inner jacket and once for the outer jacket
- Sewing machine and overlock (if available)
- Iron, scissors, clips, or pins
Sew a reversible jacket without sleeve cuffs
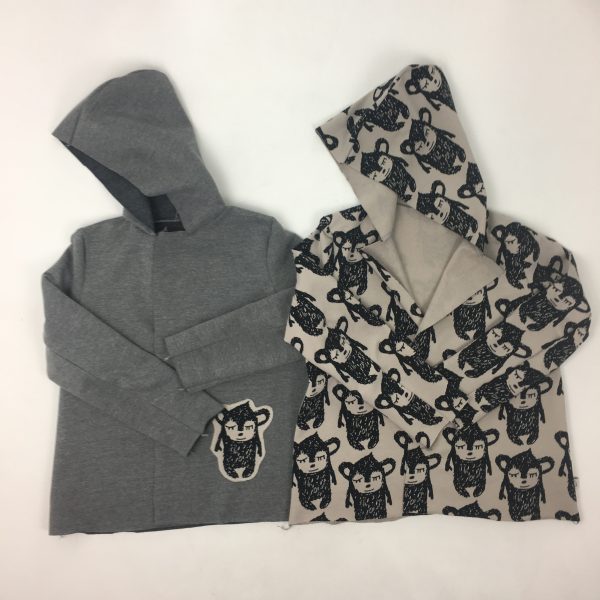
First, cut out the desired jacket pattern 2 times: once from the outer fabric (on the left in the image), and once from the lining fabric/inner fabric.
If you want sleeve cuffs that reveal the inner lining, remember to cut the sleeves longer if necessary, so you can later fold them up.
Sew both jackets according to the instructions provided.
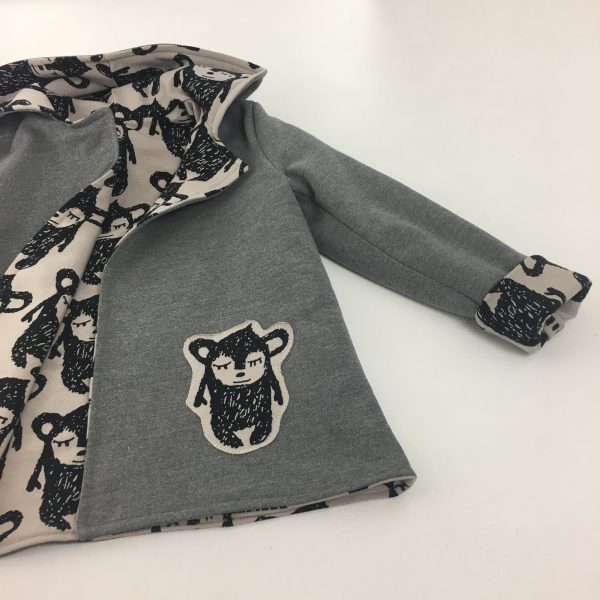
If you want to embellish the jackets or add appliqués, do so now before sewing the two jackets together.

Turn the outer jacket inside out, with the inner jacket remaining right side out. Next, insert the inner jacket into the outer jacket so that the right sides of both jackets are facing each other.
Pin the outer edges of both jackets together all around using clips or pins, making sure that the seams of both jackets (such as center seams, side seams, etc.) align perfectly.

Sew the edges all around using either a sewing machine or an overlock machine, leaving an opening of about 10 – 15 cm at the bottom hem of the jacket (see image).
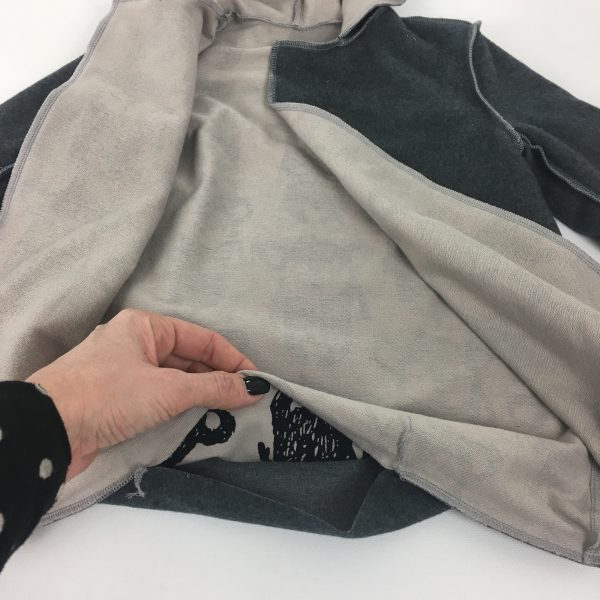
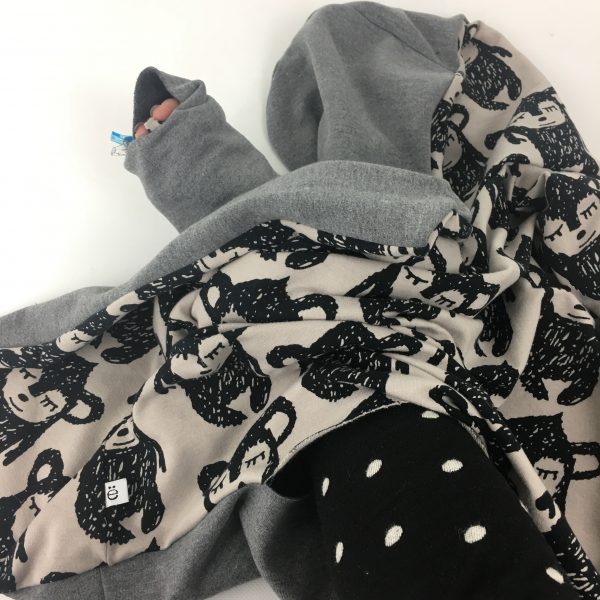
Through the opening, pull the entire jacket and turn it right side out.

Carefully insert both jacket pieces into each other and shape the edges.
The seams of the jacket are closed except for the sleeve edges and the turning opening.
Close the sleeve hems
Now, let’s proceed to close the sleeve edges. First, ensure that the sleeves of the inner jacket are not twisted but lying smoothly and straight within the outer jacket.
To prevent them from shifting during the upcoming turning process, secure them at two points (such as at the two sleeve seams) with pins or clips.
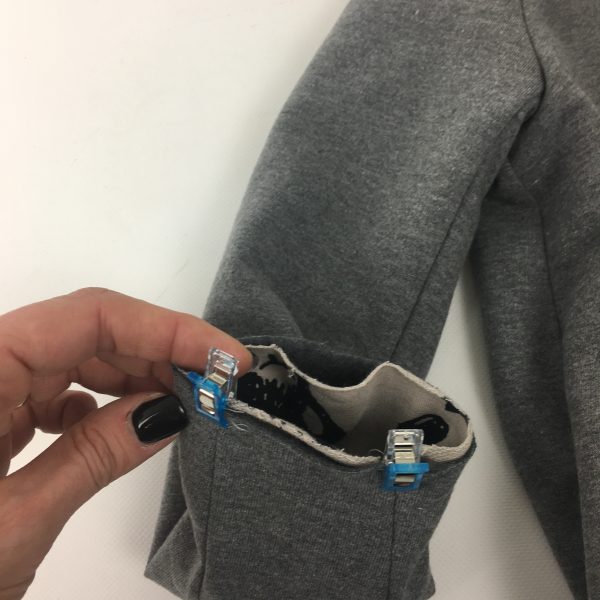
Now, reach through the lower opening in the jacket to the sleeve hem of one sleeve. Grab hold of it firmly to prevent twisting, and pull it through the opening.

Now, the pulled-out sleeve of one side should be in front of you.

The sleeve edges are not aligned yet – you need to remove the clips or pins now and properly align the edges of both sleeve pieces.
Now, the sleeve edges are properly aligned: The fabrics should meet with their right sides together (visually similar to ravioli :)).
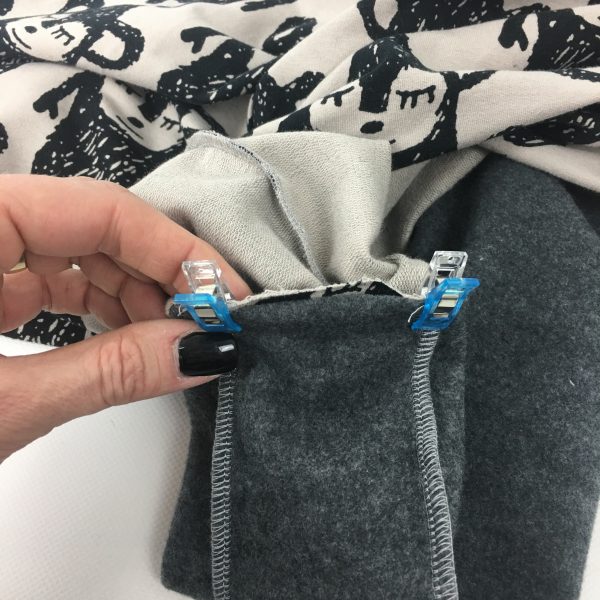
When aligning, you can use the sleeve seams of both sleeves as a guide – they should match up with each other.
You don’t need to stretch the fabric while doing this – both sleeves were cut the same, so the sleeve edges should align perfectly.

Now, pin the sleeve edges all around, right sides together, and secure them with pins or clips.

Then, close the seam using either a sewing machine or a serger.
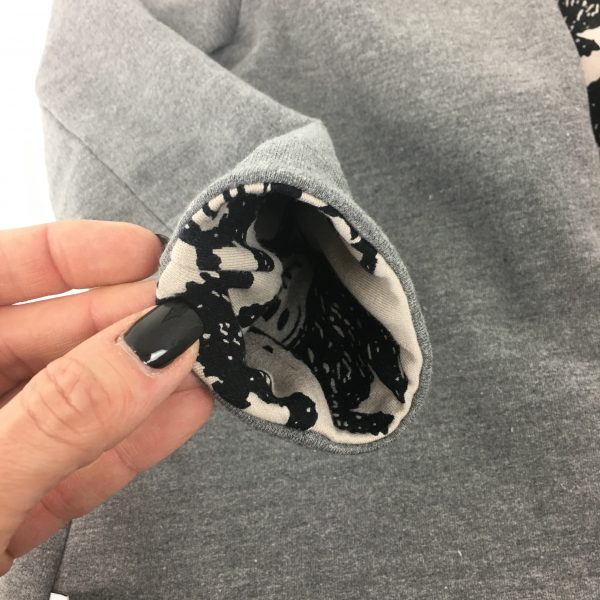
Slide the sleeves back through the turning opening into the jacket and adjust them into position. Now you have a wonderful, neatly closed sleeve edge.
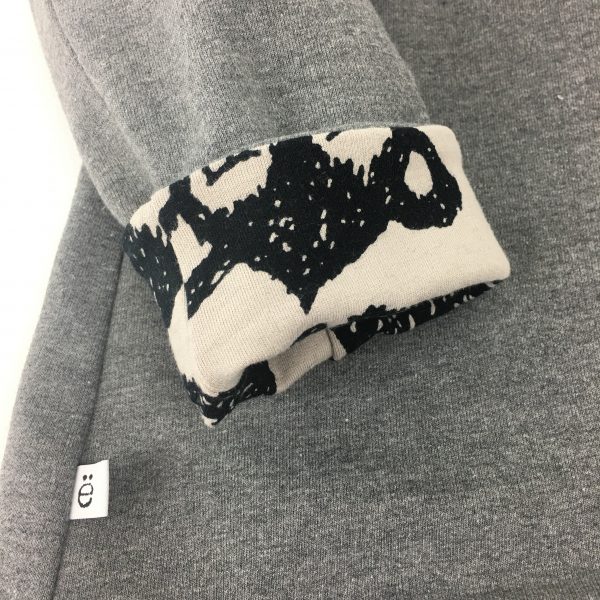
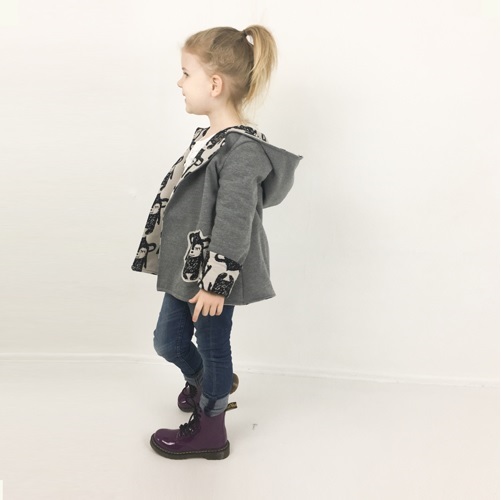
If the sleeves are long enough, you can fold them outwards once to reveal the lovely inner lining.
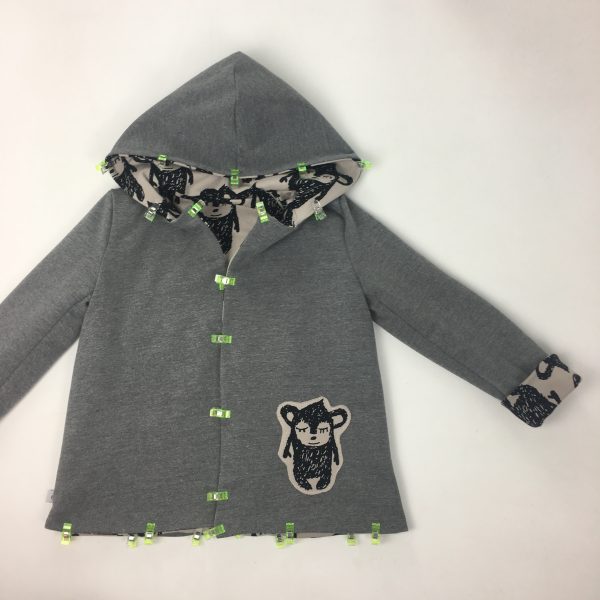
Your reversible jacket is now complete, but you can still stitch around the opening from the right side to close the turning opening as well.
For this, secure the edges with pins or clips and sew around approximately 1 cm from the edge using a straight stitch on your sewing machine.
Your lined reversible jacket is now complete.